
Export controls turn the live stage into a deliverable. They let you choose the output, dimensions, duration, and other settings supported by the current visu, plan, browser, and platform.
Capture a still or record video#
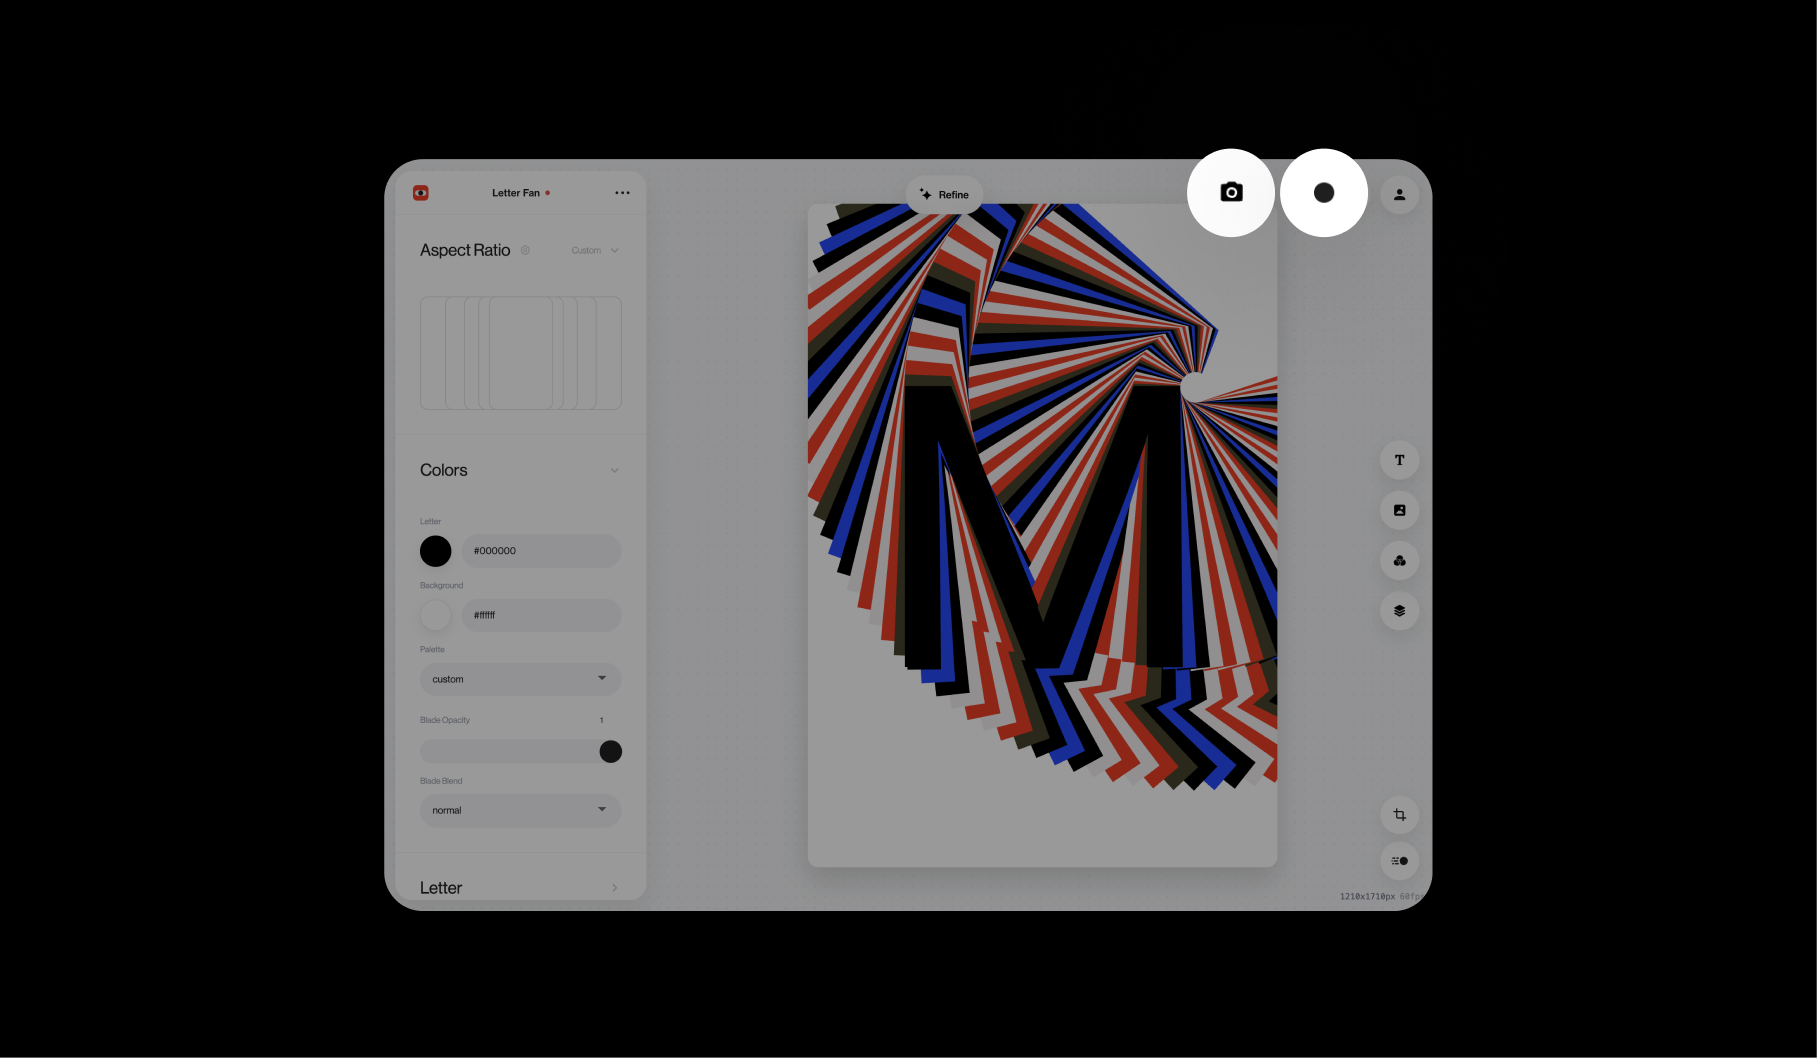
Select the camera button to create a snapshot of the current frame. Select the record button beside it to start a video capture, then select it again to stop. Both actions capture the stage itself rather than the surrounding Editor interface.
Set the ratio and resolution first. For a still, pause on the exact frame you want. For video, return the visu to a known starting state before recording so the motion begins cleanly.
Use the capture tray#
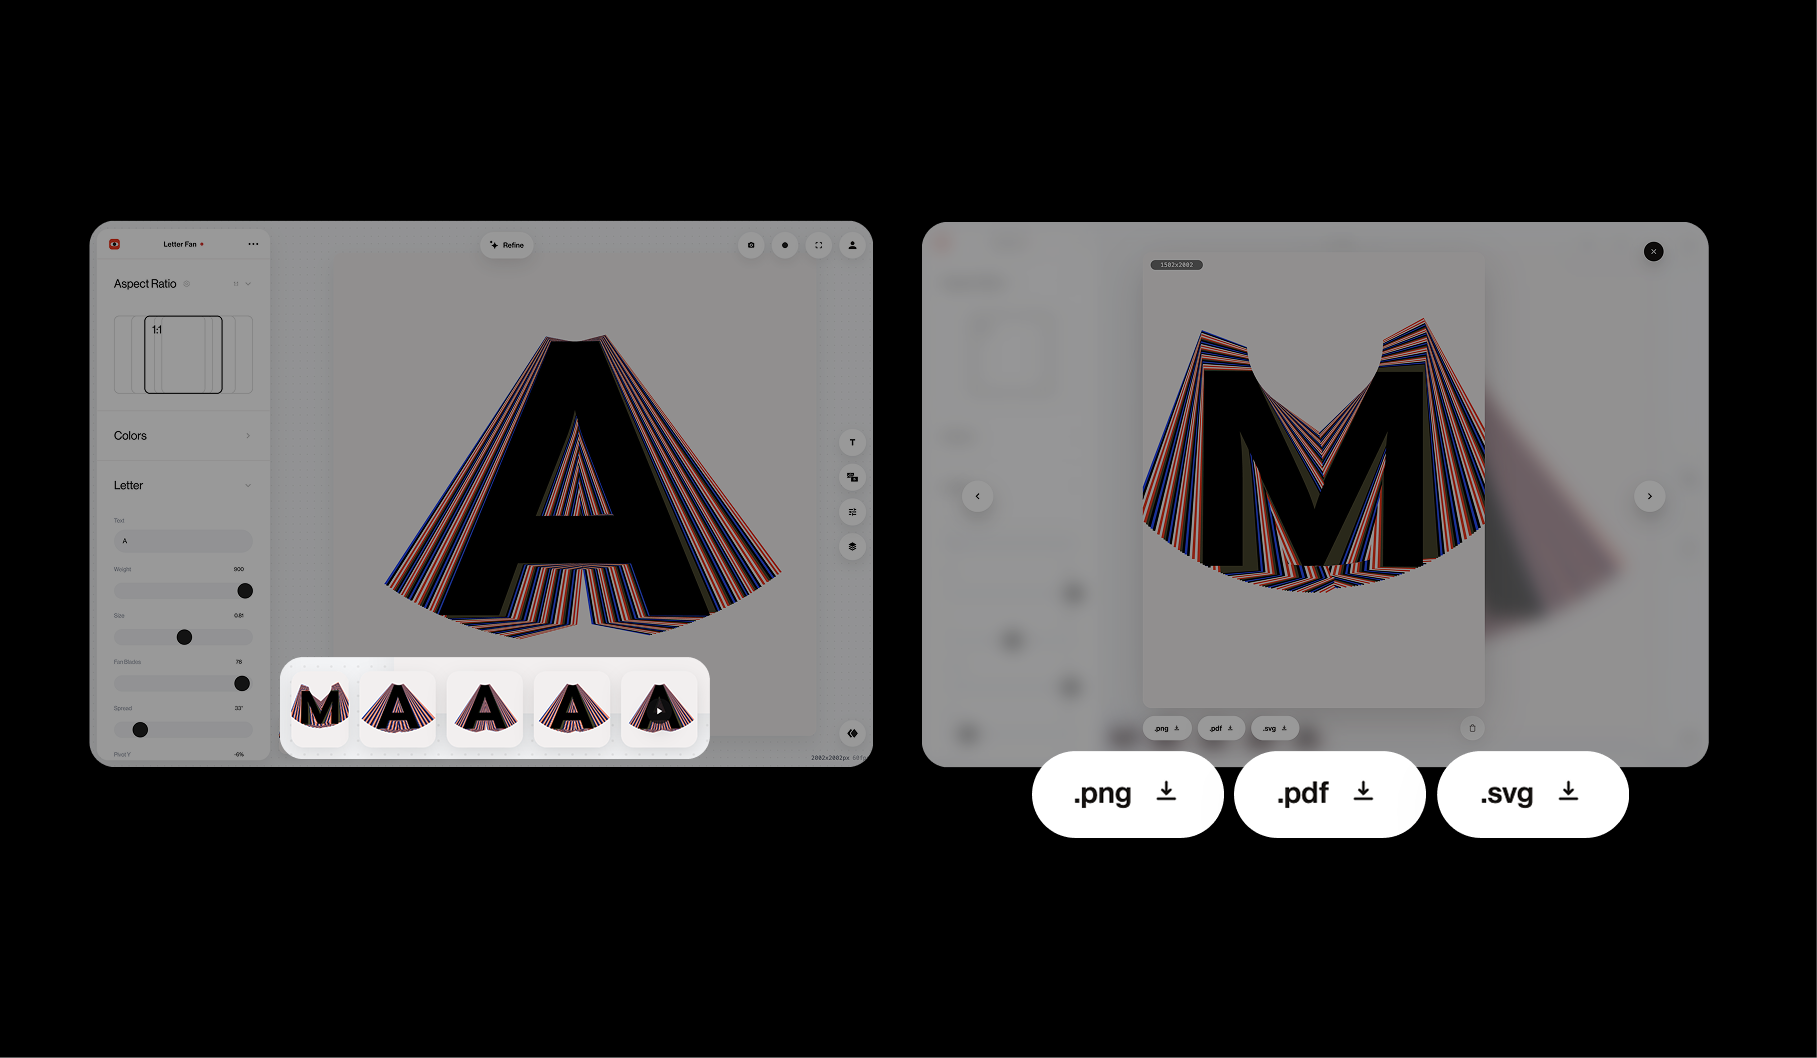
Every snapshot and recording appears in the capture tray at the bottom of the Editor. Select a thumbnail to open the larger viewer, use the arrows to move between captures, and delete attempts you do not want to keep.
For a still, the viewer offers the available .png, .pdf, and .svg downloads. A video offers its source or .mp4, plus GIF when that option is available. The formats shown can depend on the capture, browser, and plan.
Check the exported file#
Open the result outside Visu.Haus. Verify dimensions, duration, loop seam, frame rate, audio when used, transparency, typography, and color. Web exports should also be tested in the browser and layout where they will be deployed.