
Creating a visu starts before you select Create Visu. The quality of the result depends on how clearly you communicate the visual system, its motion, its aesthetic, and the elements that will make it reusable.
A prompt explains the logic. A reference image anchors the visual direction. Both are essential parts of the brief.
Start with a structured idea#
Describe a system, not only an image. Before writing the prompt, decide:
- What is the central visual idea?
- How is the composition constructed?
- What moves, and how should that motion feel?
- How does the visu respond to the pointer, audio, or another input?
- Which parts should remain editable?
Instead of asking for “an experimental abstract animation,” describe observable behavior:
Create a typographic field made from repeated letterforms arranged in a loose sphere. Let the structure rotate slowly while nearby letters move away from the pointer and return with soft elasticity. Use a restrained black, warm white, and red palette. Add controls for text, density, rotation speed, interaction strength, and colors.
The goal is not to describe the implementation. Explain the system, its behavior, and the experience you want to create.
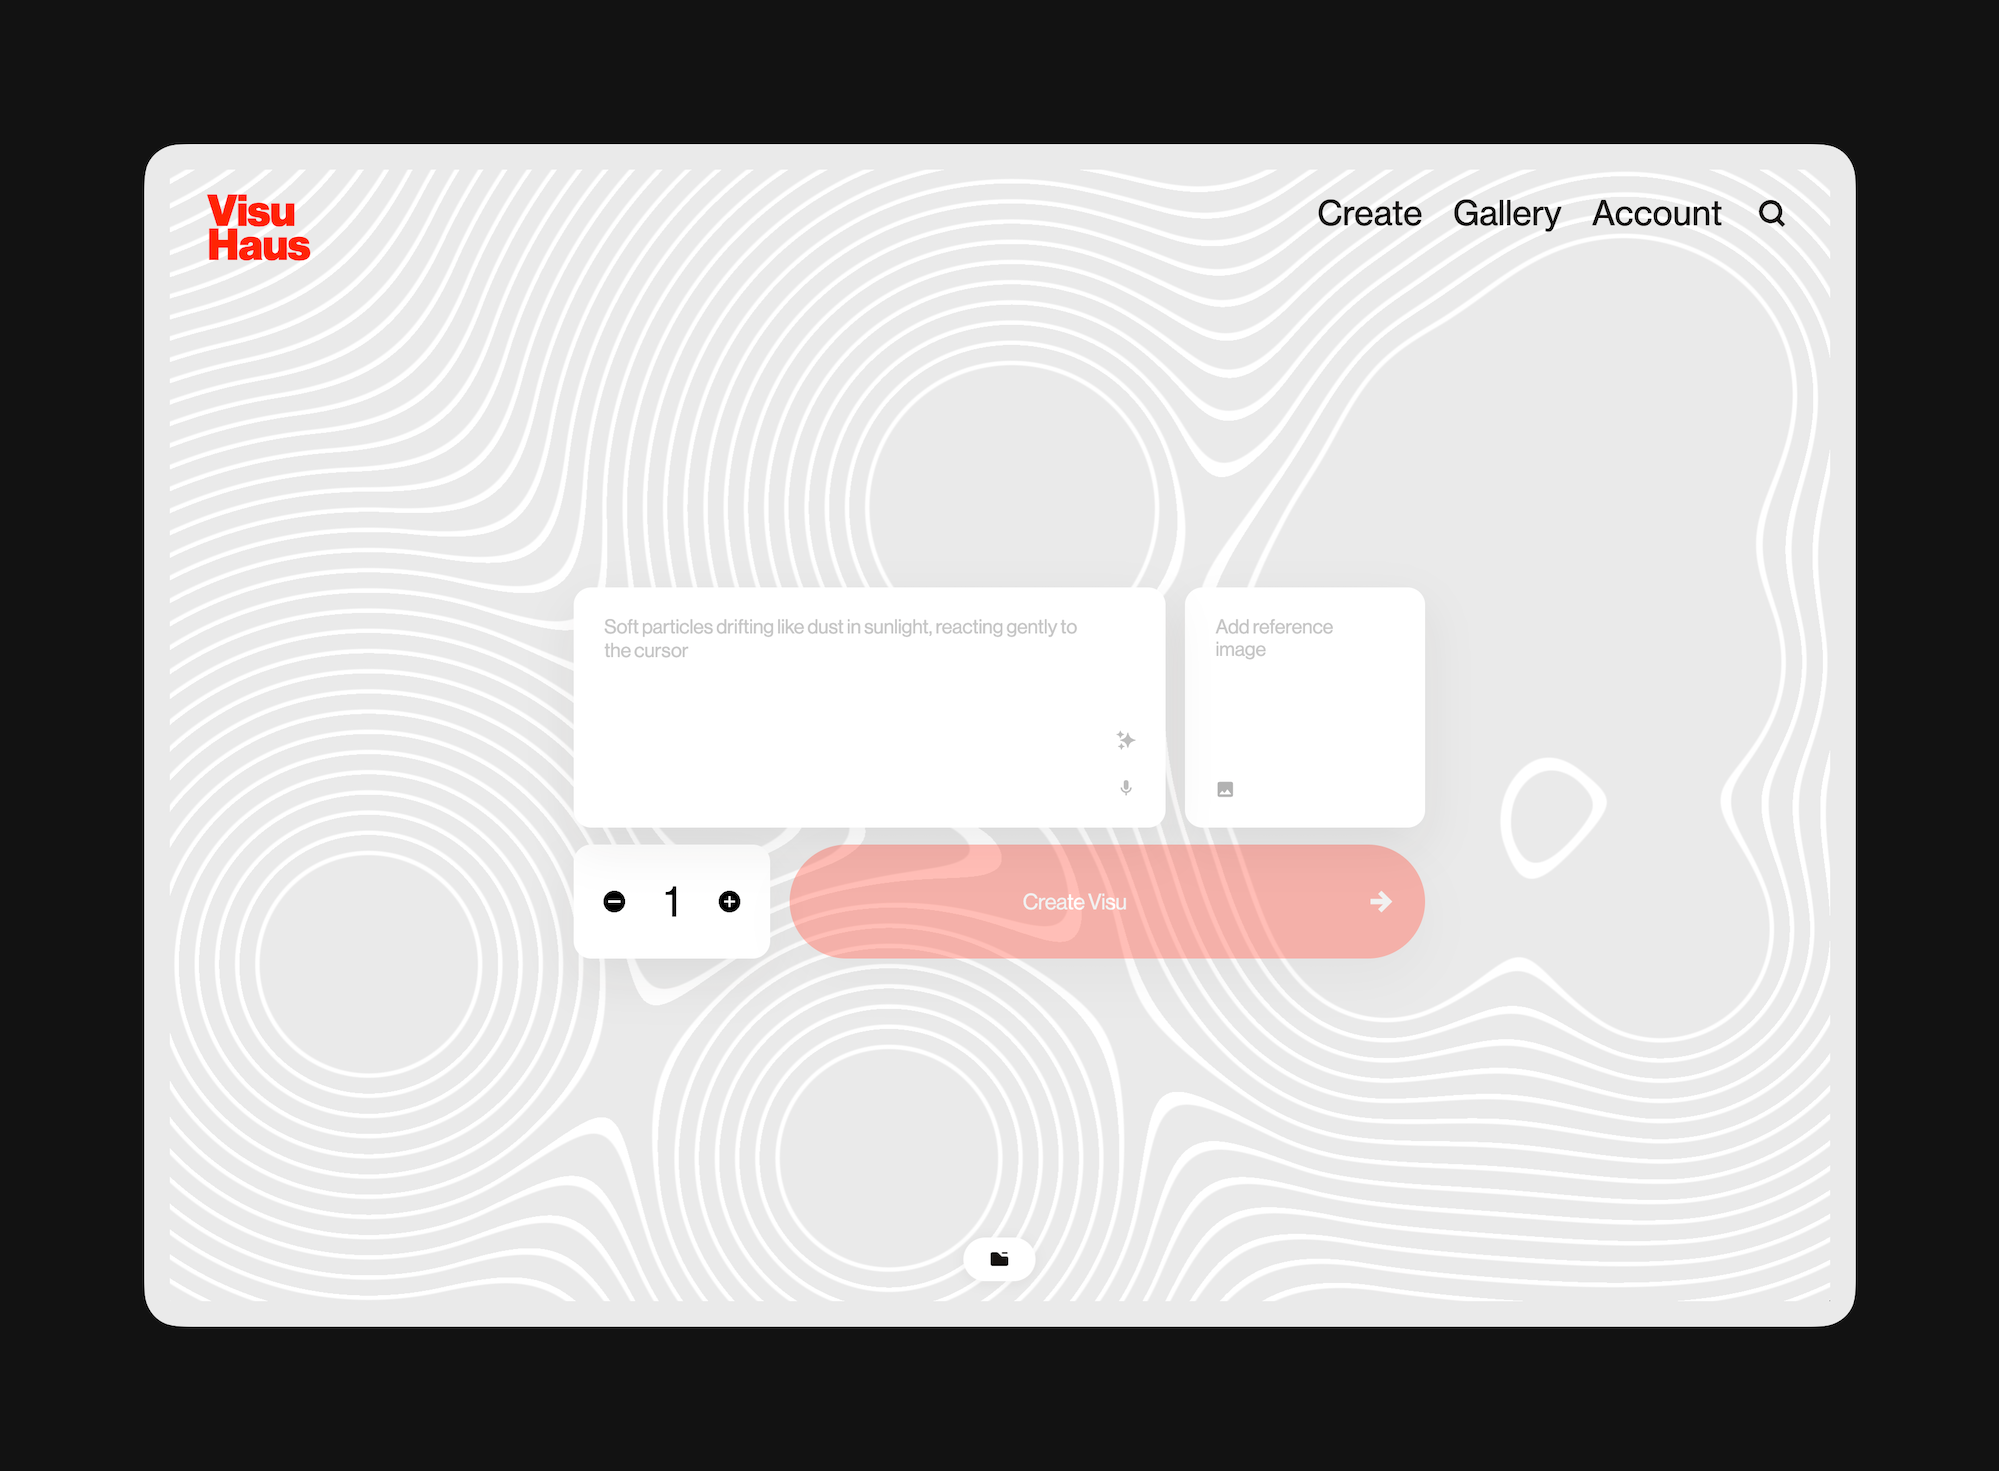
Use the prompt field and its helpers#
The prompt field accepts a complete written direction, but you do not need to begin with a finished sentence. Its three helper actions can turn visual material or a rough idea into a structured prompt.
Using an image in the prompt field is different from adding it as a reference. The prompt helper uses the file to write text; the reference field sends the image itself as visual direction for the generation. Review any suggested text, adjust it to express your intent, and still add a reference image before creating the visu.
Treat the reference image as essential#
A reference image is one of the most important inputs in the creation process. In many cases, it communicates the aesthetic more precisely than the prompt itself. It helps Visu.Haus understand composition, color, typography, texture, material, contrast, and visual density.
Tell Visu.Haus what it should learn from the reference:
Use the reference as the visual foundation. Preserve its typographic scale, restricted palette, asymmetrical composition, and rough printed texture. Build a new motion system around those qualities.
Use an image you created or have permission to use. The strongest workflow is often to make an original composition, sketch, style frame, or graphic experiment in your preferred design software and upload it as the reference. Visu.Haus can then build an interactive system around your own visual direction.
Do not use another creator’s work as a reference unless you have the rights or permission required to use it.
Plan asset fields in the prompt#
Assets are not uploaded during this initial creation step. Instead, describe the fields the finished visu should provide.
You can request fields for:
- An image
- A set of images
- A video
- An audio file
- An SVG
- A 3D model
Write the request explicitly:
Add an Image field. Use the uploaded image as the texture of a rotating 3D surface and pass it through a liquid distortion shader. Add controls for distortion, rotation speed, depth, and background color.
When the visu is ready, the requested upload fields appear with its controls. You can then add or replace the files without generating the entire project again.
Make every asset part of the system#
An asset field should have a clear role. It is not enough to request an image, video, audio file, or 3D object without explaining what the visu should do with it.
If you request an image and a shader, explain how the shader transforms the image. If you request an image and a 3D scene, explain where the image becomes a texture or object. If you request audio, define which properties respond to volume, bass, mids, or treble.
Think of these elements as building blocks. The composition, motion, interaction, assets, and controls should work together as one complete tool.
Choose variants and review the cost#
Use the counter beside the Create button to choose how many versions to generate. The maximum number available depends on your plan.
Each variant is a separate generation. The Create button shows the total AI credit cost before you continue. Generate one version when the direction is already precise; generate several when you want to compare different interpretations of the same system.
Generate and keep the tab open#
Select Create Visu and wait for the generation to finish. The project is saved automatically to My Visus and opens in the Editor.
Understand what opens in the Editor#
The visu appears in the center of the workspace. Its controls, including any asset fields requested in the prompt, appear in the side panel. The Versions control appears in the upper-left area. If you generated multiple variants, open it to compare the results and choose which one to continue developing.
Use Refine when you need to change the visual logic, motion, interaction, controls, or asset behavior. Select Refine above the stage, describe one focused change, and then select Update Visu. You can also import an image or capture the current visu and use it as a visual reference for the update.
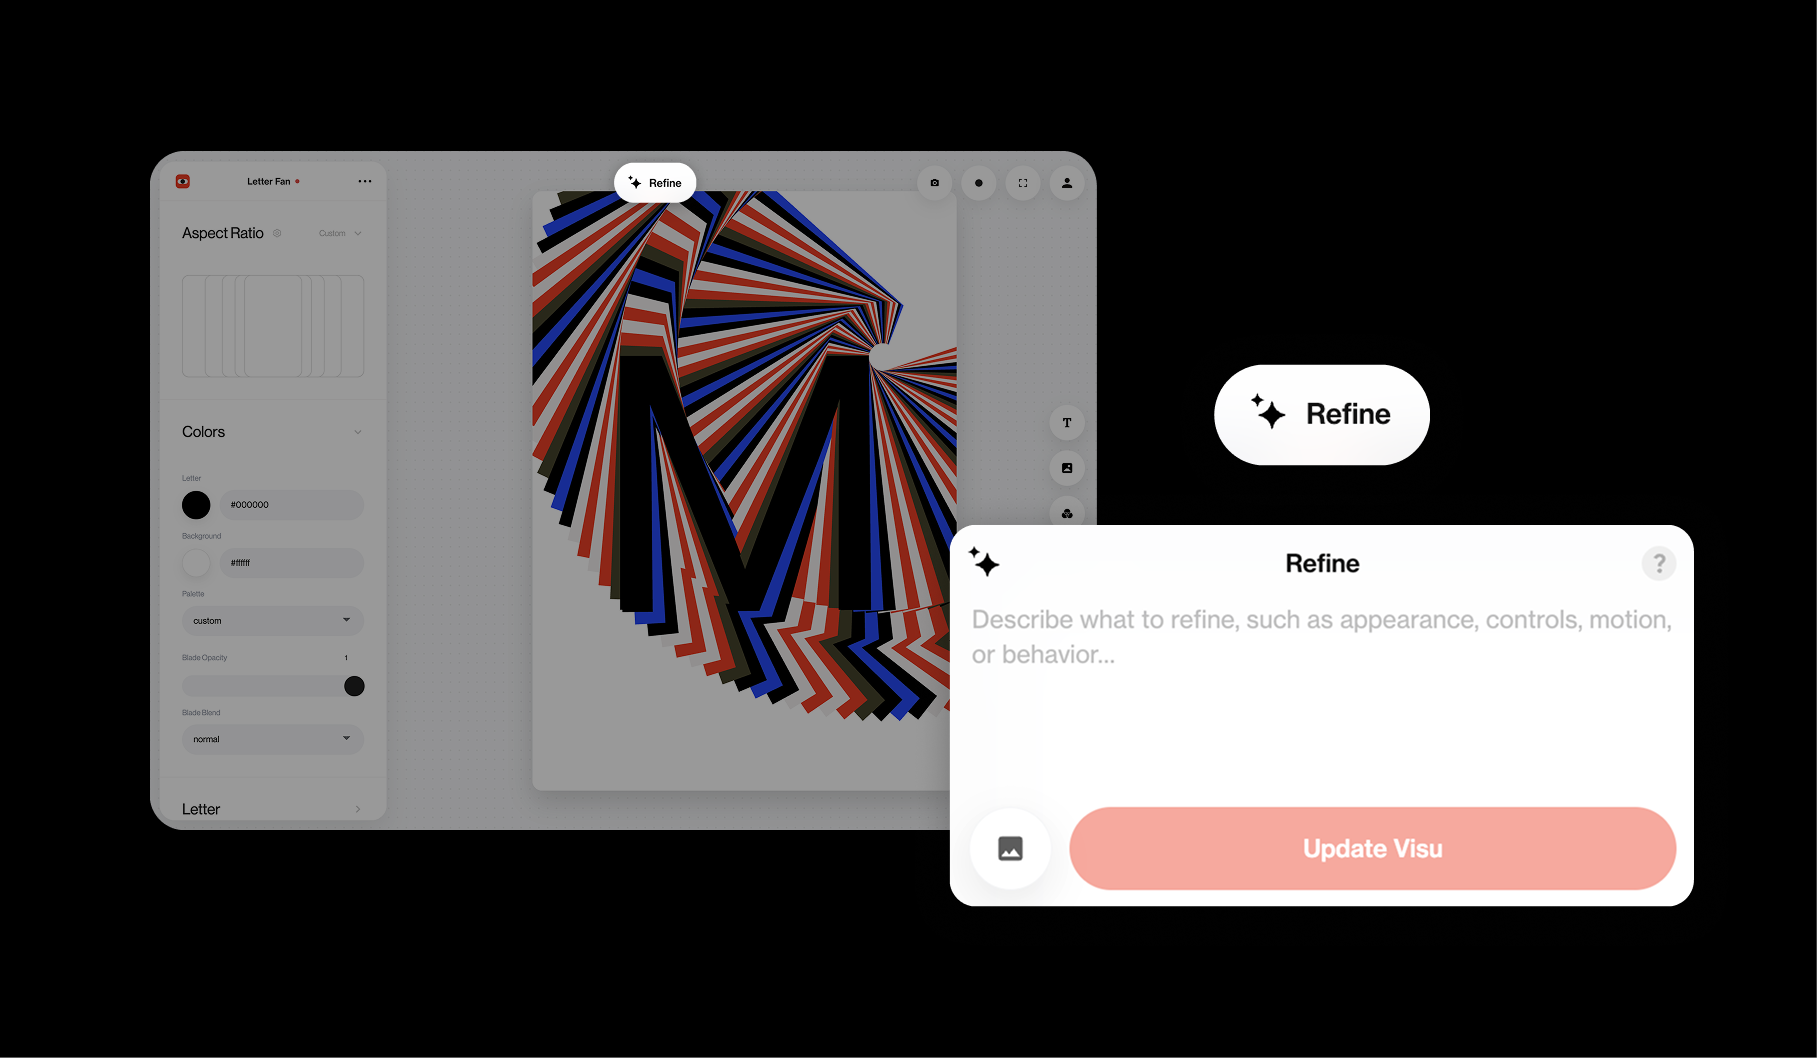
Before refining, let the visu complete its motion cycle, test its interactions, and confirm that every requested field contributes to the system as intended. If the required change already exists as a control, adjust that control instead of requesting an AI update.